Print File Specifications

Artwork Requirement

• We prefer vector art (.ai, .eps, or layered .pdf) with all imported graphics and fonts. All fonts must be included in the file, or to prevent conflicts, it is recommended to outline all fonts.

• Document setup should be set to the final trim size.

• Type and images must not print closer than 1/8″ or 2 mm to the die line unless it is bleeding beyond the edge of the label. If there are bleeds, they must be 1/8” past the die line.

• Minimum type size: We will determine this variable on a “per job basis” and will suggest adjustments needed in order for the text to be legible.

• Any imported images need to be embedded in the document.
Image / Color Requirements

• All embedded images must be high resolution and be recommended at 300dpi. Anything less may result in poor quality. If JPEG compression is used, please set it to maximum quality.

• All images must be assigned CMYK not RGB. (Note: Digital cameras save images as RGB. These images will need to be converted to CMYK before embedding.)

• Pantone colors will automatically convert to CMYK. There will be a shift in color.

• Metallic colors like pantone 877 silver and pantone 871 gold will not have a metallic luster like traditional metallic ink.

• We recommend taking advantage of our digital press proof for an accurate representation of color and content.
Placing Artwork into the Template
White Support for PS file
White Support for AI files
White Label Support- AI
White Label Support- PS
Standards of Proofing
Illustrator processes
With vector based designs you have clean lines with out pixalation.
With them being vector base we can separate all layer to change colors to a specific spot color for printing
White vector objects we are able to select one item at a time and manipulate the color by using the color picker or by using the edit colors function in illustrator. We aren't able to do this with Photoshop Files since they are flat.
Labels-LabLabels-Lab-Recolored-pfc
Edit processes
Photoshop processes
This is a flat PNG image. From a distance, it looks okay but up close and when printing the pixelation will come out and make the object blurred.
This pixalation makes it hard to line up the white support as well as makes it difficult in printing.
The best way to fix this is by remaking the labels in Illustrator.
We do have a workaround for PSD files but it is considered design work This is due to the amount of time it takes to do it and we still can't give a 100% guaranty that it will print right.
PSD White support
PSD image
Even when they are the same file and size they can still be off and need fixed
Opening up the file in Photoshop you need to create a duplicate layer of the artwork
On the duplicated layer you can go through with the quick select or magic wand and select the background or what will not be in white for the white support.
Since it is a photo the selections may need to be modified
For Vector text this wont be much of a problem
After selecting the Background we need to save this selection by going select, save selection and name it background. This will save to the channels.
After the selection is saved we need to save the content or what will need to be white for the white support. Go back to select and hit inverse with the Back ground selected. This will select the text and other images. Save this selection and name content.
Now we have all the layers that we need to make the white support save in case we need to go back and edit later.
Next is to fill the a background with the White support hex color. Go to edit and click fill. We use a specific blue for printing our code is 0092b8.
With the color changed we need to create a new spot color. By going to the channels panel with the blue background selected go to the menu and select new spot channel and name it with a capital W
After the new channel is made we still need to change the content channel to white to show what will be metallic or need effects, using the same processes as used to turn the background blue.
Go back to the layers panel and make sure nothing is locked or hidden and than file and save as a PSD.
Drag the saved PSD file into illustrator the proof template. After doing so embed the file if it is not already. Find the layers panel and the white support layer. Expand the layer to show all parts and select the W layer, drag it out of that group.
Last step is to turn off the multiply in the transparency panel by turning it to normal.
After removing the multiply you will have a working white support.
Standards of Proofing
Die Cuts:
All die cuts should have a 2mm round corner radius unless otherwise specified by the client. Straight corners can only be used for labels that will be hand applied.
Bleed:
The die cut should be offset 1mm and then clipped to the artwork to create a 1mm bleed. All artwork/background/color should have at least 5-10mm of extra bleed before clipping to make sure there is no cut off or white lines around the label.
Safe Space:
Within the die line there should be a -1.5mm safe space for all text and important artwork. This will prevent anything from getting cut off in the event of shifting during the cutting process.
No logos, text, or main artwork elements should against the die line area. We will shift or shrink the labels to fit within the safe space area otherwise in order for it to be printed correctly. This may change the feel or layout of the label in some cases and will be confirmed with the client before sending to production.
White Support:
To create white support for metallics, hot stamping, embossing, spot UV, or clear labeling, all artwork must be in vector format in order to quickly create white support for production value.

Any raster images and/or photoshop files will have to be recreated or converted into vector format Specific colors are designated for all white supports with the exception of metallics and clear labels.

White support for metallics and clear labels is indicated in white areas with the designated color indicated non metallic areas or the non clear labeling or artwork. (Example of clear and metallics attached at the end of document.)

Hot stamping, embossing, spot UV are all indicated by the designated color.
White support should have no effects or blend modes and should only be solid vector color shapes. Only exception is transparency.depending on the customers needs for metallics.
File size:
File size should be as small as possible and preferably in vector format when possible.
Fonts and type:
All fonts need to be outlined in order to not conflict with missing fonts, or the fonts must be provided.

If certain variables need to change such as variable data, serial numbers, etc. In those case do not outline the fonts.
Layers, links, and embedding:
All layers should be organized named and unlocked.

No hidden layers should be included when possible. This will help prevent missing elements of artwork not going to print and as well will help keep the file size smaller for sending to production.

All hidden, unnecessary elements or layers should be deleted.

Any linked files should be embedded to prevent missing links when printed.
What is a White Support?
A white support is a layer that makes it possible to print clear labels and metallic labels.This lets production know which parts of the label is going to be transparent and solid or which part will be metallic or not.
White Support for Clear Labels
For clear labels, everything that is cyan will be solid art and everything that is in white will be clear.
White Support for Metallic Labels
For metallic labels, everything that is in white will be metallic and everything that is in cyan will have a regular finish.
Product Samples Request

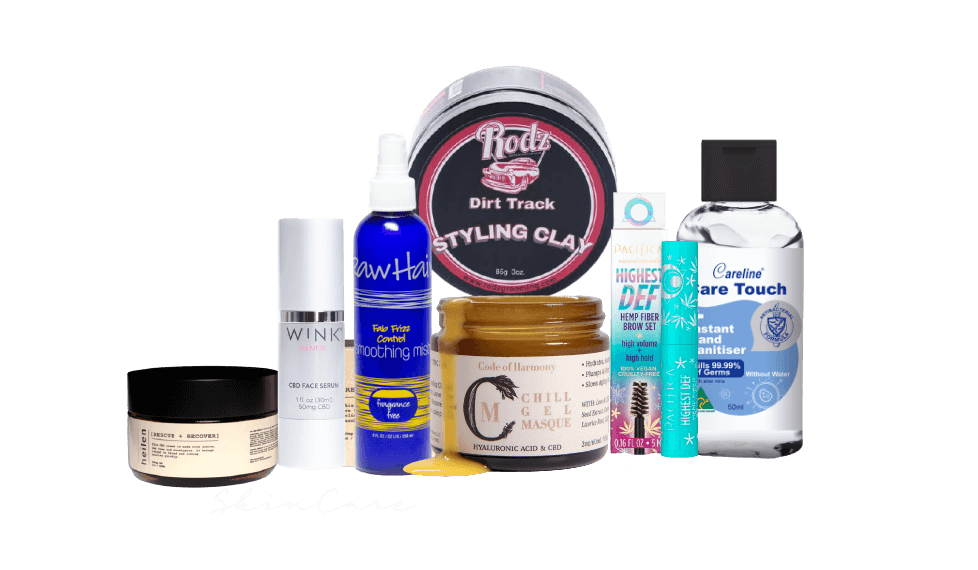
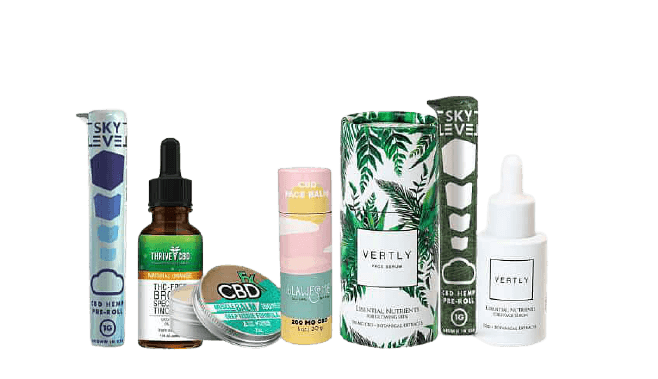
By speaking to us about your labels and reviewing our samples, you will be able to get ideas for your packaging.

Free Samples

We are happy to send you a sample package with our different stock labels, shrink sleeves, sachets, stickers, and window clings. We will send you a generic sample packet within seven days. Please note that all over our generic labels ship via USPS.

Custom Samples

We offer our customers the option of samples with your artwork. The price of the custom samples depends on the product material and quantity. ​Please click on the link below to schedule an over-the-phone consultation with one of our printing specialists. We will get back to you within 24 hours.

Review the quality of our labels and get a feeling for our dedicated customer service and quick turnaround by contacting us today!
Contact Us

Our Materials

Here at Labels Lab, we offer you a wide range of different materials to choose from. Every different product that you sell will have unique needs for its packaging and design. We understand these needs, and our project specialists will help guide you through the selection process to not only find the material that best fits these needs, but one that is cost effective and visually appealing.

Labels:

Paper – White, Chrome, Estate #8, Neon, Hologram, Double Sided

BoPP – White, Chrome, Clear, Ultra-Clear, Hologram, Flexible, Double Sided

Shrink Wraps:

PVC – For dry heat application

PETG – For steam application

Sachets:

Thin PET – 4 microns thick

Thick PET – 8 microns thick

Tamper Evident:

Seals – PETG, PVC,

Stickers – Eggshell

Contact Us

Common Issues

Getting the best labels printed in a timely fashion is not always simple, yet we try to make it as easy as possible for you. Here is a list of some common issues that may arise during the process.

Contact us today to speak with a qualified account specialist who will help you to avoid these problems.

Artwork
Ordering
Shipping
Application
Artwork

• The labels are not the right size

We send you a proof that has the die-cut size for the label that you need to check carefully. By signing the proof, you are verifying that everything is correct. This part is very important! We recommend that you print out the proof at 100% size and cut the label out so that you can fit it to the bottle as a double-check.

• The labels are the wrong design

Often, a customer will send us the wrong artwork file. This is another reason that we send you a proof to review carefully and sign. We recommend that you send us all of the final artwork in one email, and please add the date to each file to make the process more efficient and simpler.

• The colors do not match

Our digital press uses a CMYK 4 color process that will automatically convert Pantone colors to CMYK to within 99% accuracy. If you use an RGB color process, we recommend providing us the Pantone color number that matches your desired color, to avoid a “guess and check.” Additionally, we recommend printing the proofs out via a full-color printer, as computer monitors may be set to slightly different color temperatures that may distort the actual color.

• The font is not correct

Sometimes the artwork that a client sends does not include the fonts required. Our design software will automatically convert to the closest font, so we recommend sending us the exact font that you want.

• The images are blurry

For the highest quality printed image, you need to start with a high-quality image file. We recommend using a file with a DPI of no less than 300.

Ordering

• Wrong number of labels per SKU

We understand that much business correspondence consists of many back-and-forth emails, and that needing to change a quantity for a particular SKU last minute may happen. This is why we require you to submit your final order via a Purchase Order (PO) or our order submission form. We will refer to this PO number during the final ordering stage for you to verify that the quantities per SKU are correct.

• No Signed Proofs

Every new order submitted REQUIRES signed proofs. This is to help safeguard you from mistakes. We cannot place a new order without your written approval of the size and design.
Shipping

• Only half of the shipment arrived

Sometime one box may arrive sooner than another. We ship everything via FedEx overnight, so once the package leaves our facilities, it is now FedEx’s responsibility. We will provide you with a tracking number as soon as your package is shipped so you can monitor everything. Should the package get delayed while being shipped, please contact us immediately and, we will work with FedEx to help resolve the issue.
Application

• Roll Size and Direction

On the bottom of every proof we send, there is a rolling direction chart. Please review the chart carefully as our chart numbers may differ from others. Also, we print our rolls on an industry-standard 3″ core, and your labels are divided evenly amongst the rolls. If you require a different size roll or require a certain amount of labels per roll to meet a machine’s requirements, please let us know!

• Peeling Labels

Picking the right material for your labels is very important. Different products use different containers and face different environments. For example, if your product comes in contact with water or oil, paper is never recommended. Also, the paper may peel off of a small rounded bottle due to its elasticity characteristics. Contact us today for help in determining the best-suited material for your product.

• Wrinkling Shrink Sleeves

The size and material for shrink sleeves are VERY important. Just a few millimeters of difference can cause trouble, so we REQUIRE that you send us one of your bottles for accurate sizing. Also, the material to be used is dependent on the application method, i.e., heat or steam tunnel. Contact us today for help in determining the best-suited material for your product.

• Bubbling

This is common for clear labels that are being applied by hand. Bubbling is extremely difficult to avoid, therefore, not recommended. Contact us today for help in determining the best-suited material for your product.
Contact Us
Top